- Industries
- Styles
- Materials
- Hot Selling
- Categories
- Design Services
- Company
- United States

Quick answer: A dieline is the flat, unfolded plan of a box. It shows where the board is cut, where it folds and glues, and where your artwork must start and stop. The printer uses it to make the cutting die, and your designer places the artwork on it. Pro Packaging Line makes a free dieline with every print order, in PDF and AI files.
A dieline is usually the first file you see when you order custom boxes, and it can look confusing: a flat shape covered in solid lines, dashed lines and colored borders. Once you know what each line means, it becomes the most useful file in the whole order. It is the reason your box folds correctly, fits your product and has your logo on the front panel, not upside down on a flap.
This guide explains what a dieline is, how to read one, how it differs from a box template or a mockup, what it looks like for common box styles, and how to get one sized to your product.
In this guide
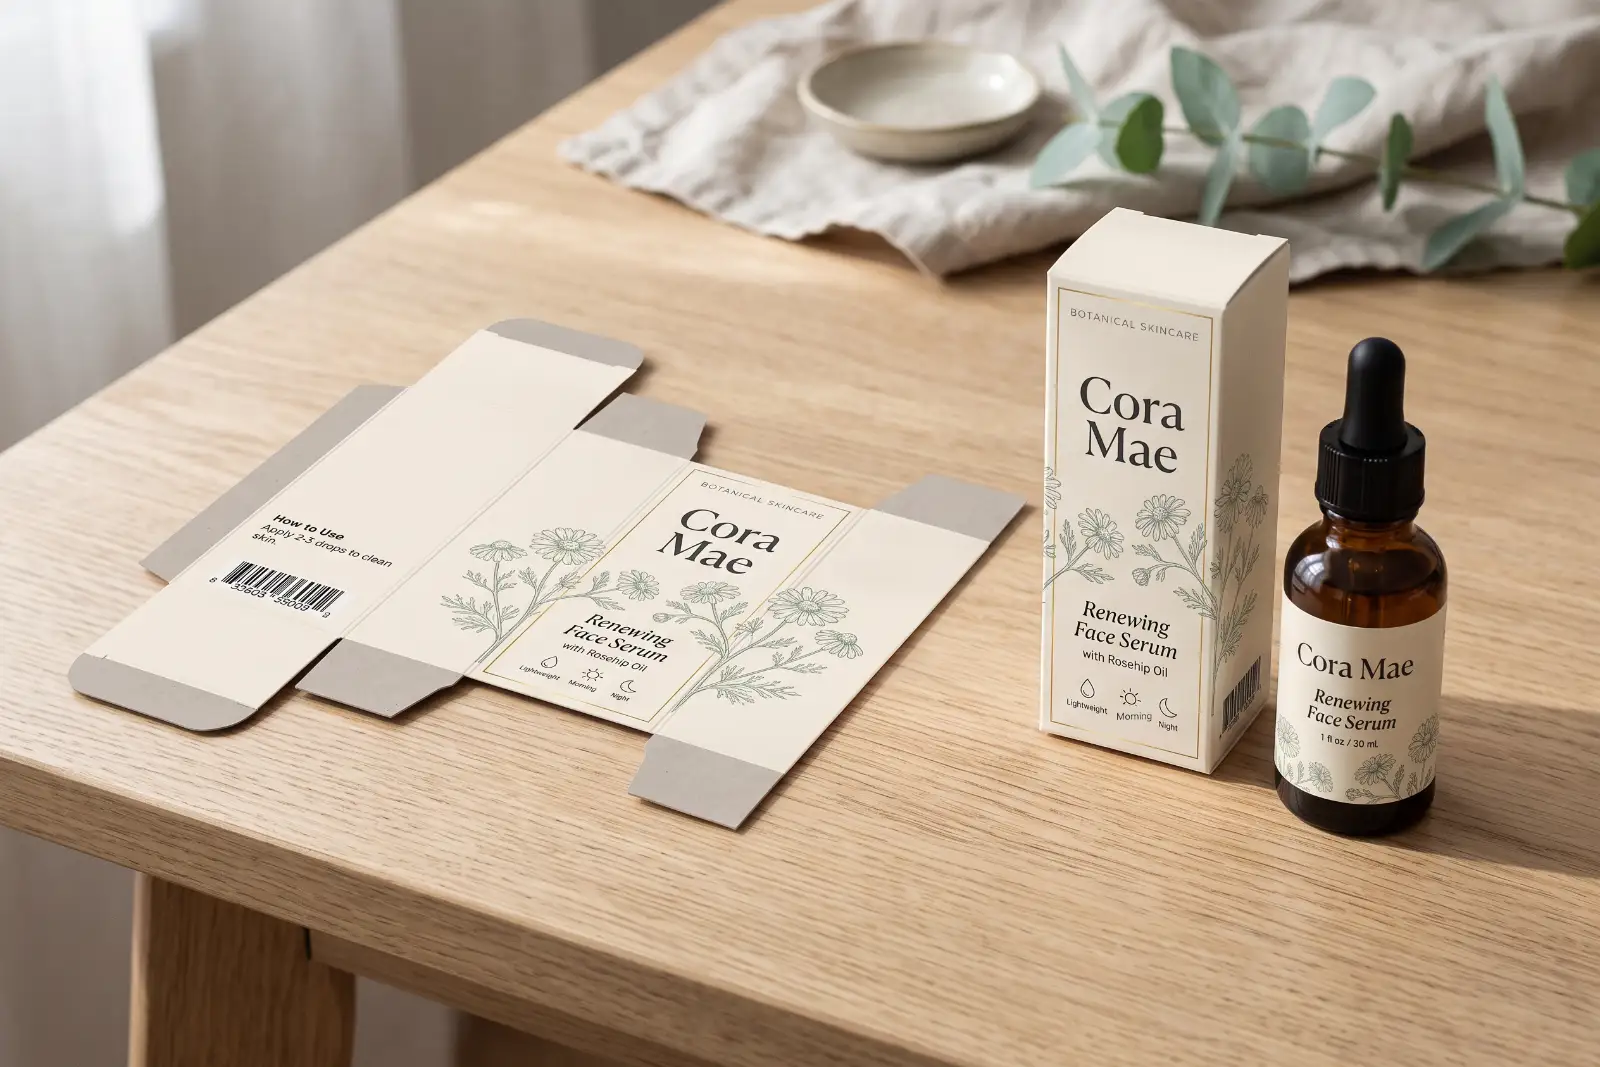
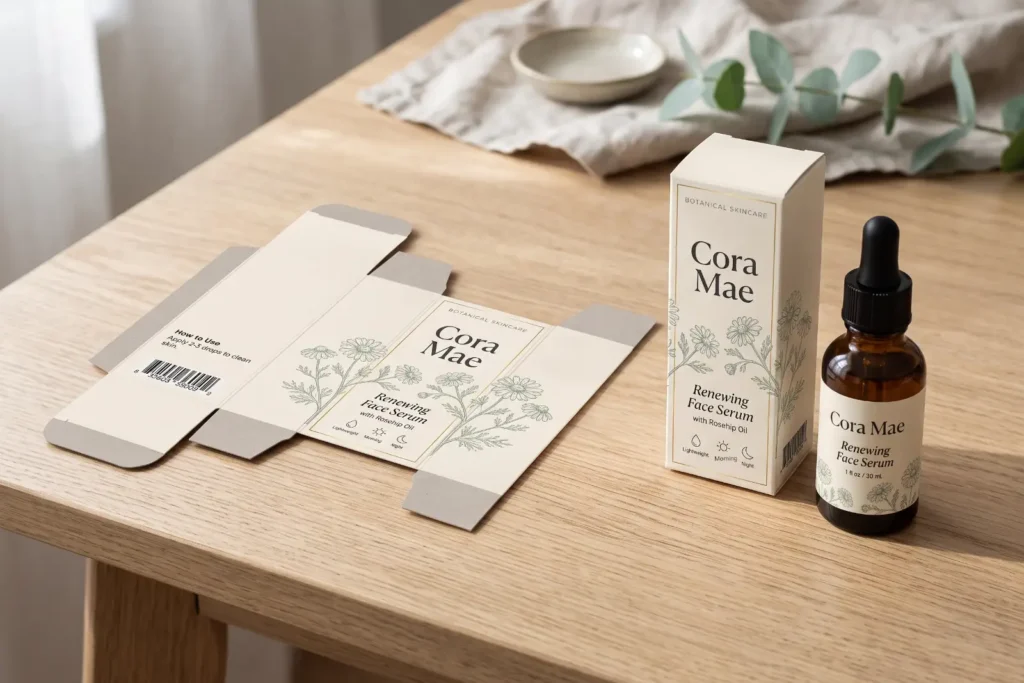
A dieline is a flat drawing of a box with every panel, flap and tab laid out side by side, exactly as it will be cut from one sheet of board. It is drawn to the real size of your box, so every line on it matches a cut or a fold on the finished package.
The name comes from the cutting die, a tool with sharp steel rules shaped like your box. The die presses through the printed sheet, cutting the outline and pressing in the fold lines in one step. The flat drawing tells the printer how to build that die.
Mostly, yes. “Dieline” and “die line” are two spellings of the same word. Many people search for a “box template” when they mean the same flat layout. The small difference is that a template is often a generic shape you can download, while a print-ready one is drawn for one exact box size and board.
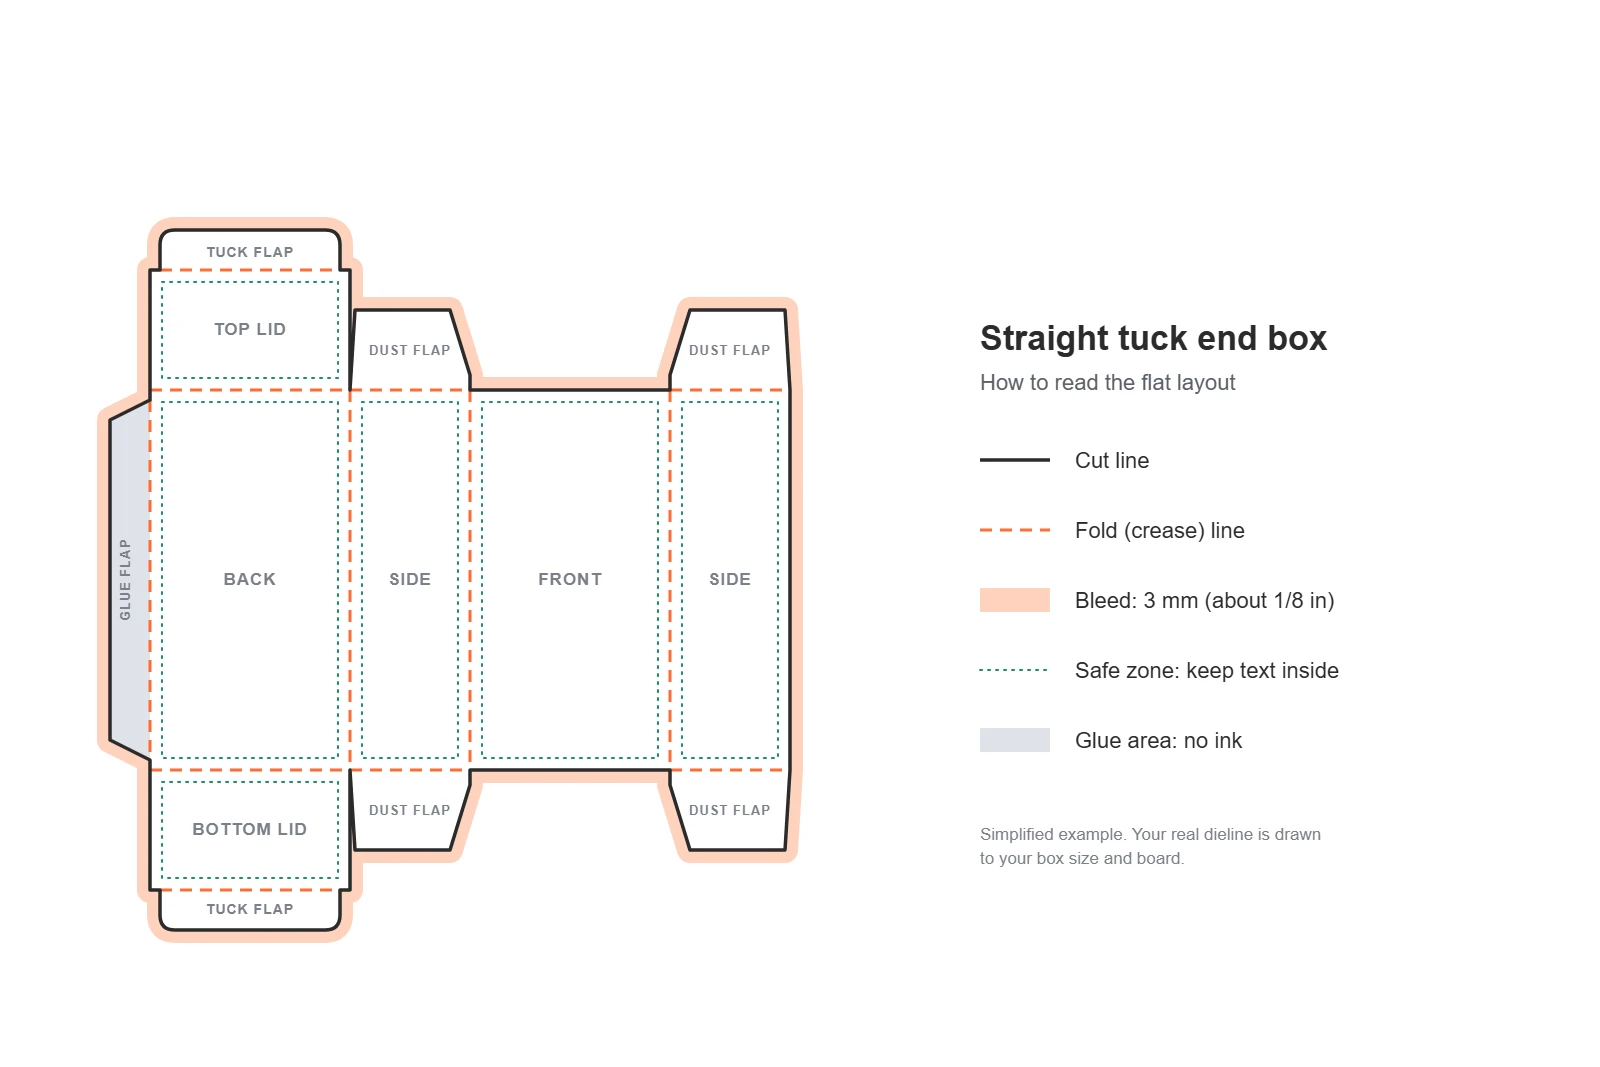
Read it by its line types: solid lines are cuts, dashed lines are folds, and the borders just outside and inside the shape mark the bleed and the safe zone. A legend on the file explains which style or color means what.
| Line or area | How it usually looks | What it means |
|---|---|---|
| Cut line | Solid line around the outside | The die cuts all the way through the board here. |
| Fold (crease) line | Dashed line between panels | The board is pressed, not cut, so it folds cleanly. |
| Perforation | Dotted or broken line | A tear strip or easy-open section. |
| Bleed | Area just outside the cut line | Background color and images run past the cut so no white edge shows. |
| Safe zone | Area just inside the cut and fold lines | Keep text, logos and barcodes inside it so nothing is trimmed or folded. |
| Glue area | Marked flap, often shaded | Glue goes here, so leave it free of ink. |
On the files we send, the bleed is 3 mm (about 1/8 inch) on every outside edge. Your file shows it as a separate line, so your designer can see exactly how far the artwork needs to run.
No. Red, magenta and blue are common because they stand out against artwork, but there is no single color rule. What matters is that the lines sit on their own layer, apart from the artwork, and that the legend says what each color or line style means.
A dieline is the exact production plan, a box template is a general starting shape, and a mockup is a picture of the finished box. You often use all three in one project, at different stages.
| Dieline | Box template | Mockup | |
|---|---|---|---|
| What it is | Flat plan drawn to your exact size and board | General flat shape for a box style | 2D or 3D picture of the finished box |
| Who uses it | Printer and designer | DIY makers and early planning | You, your team and your customers |
| Can it be printed? | Yes, it is the print file base | Only after it is resized and checked | No, it is for viewing only |
| When you need it | Before artwork is finished | For prototypes and ideas | To check the look before you approve |
Each box style lays flat as its own shape: tuck end boxes are a row of panels with flaps at both ends, mailers are a wide sheet with a hinged lid, and auto-bottom boxes have interlocking base flaps. What changes is how the box closes.
A tuck end box layout is a row of four panels with a glue flap on one end and tuck flaps at the top and bottom. On straight tuck end boxes, both tuck flaps hinge from the same back panel. On reverse tuck end boxes, the top flap hinges from the back and the bottom flap from the front, so the two flaps point in opposite directions on the flat sheet. Our guide to mailer boxes vs. tuck-end boxes explains when each style fits.
Custom mailer boxes have a larger, more complex layout: a base, rolled side walls, dust flaps and a hinged lid with locking tabs, all from one piece of corrugated board. The inside of the lid is part of the same sheet, which is why inside printing is planned on the same file.
The bottom flaps of an auto-bottom box are pre-glued so the base snaps into place when you open the box. On the flat layout you see four shaped bottom flaps that interlock. Seal end auto bottom boxes are a good choice for heavier products that need a strong base.
Rigid boxes are built differently. A thick board is wrapped in a printed paper, so the file shows the wrap paper with extra fold-over edges rather than one die-cut sheet. Rigid boxes ship assembled, while most folding cartons and mailers ship flat.
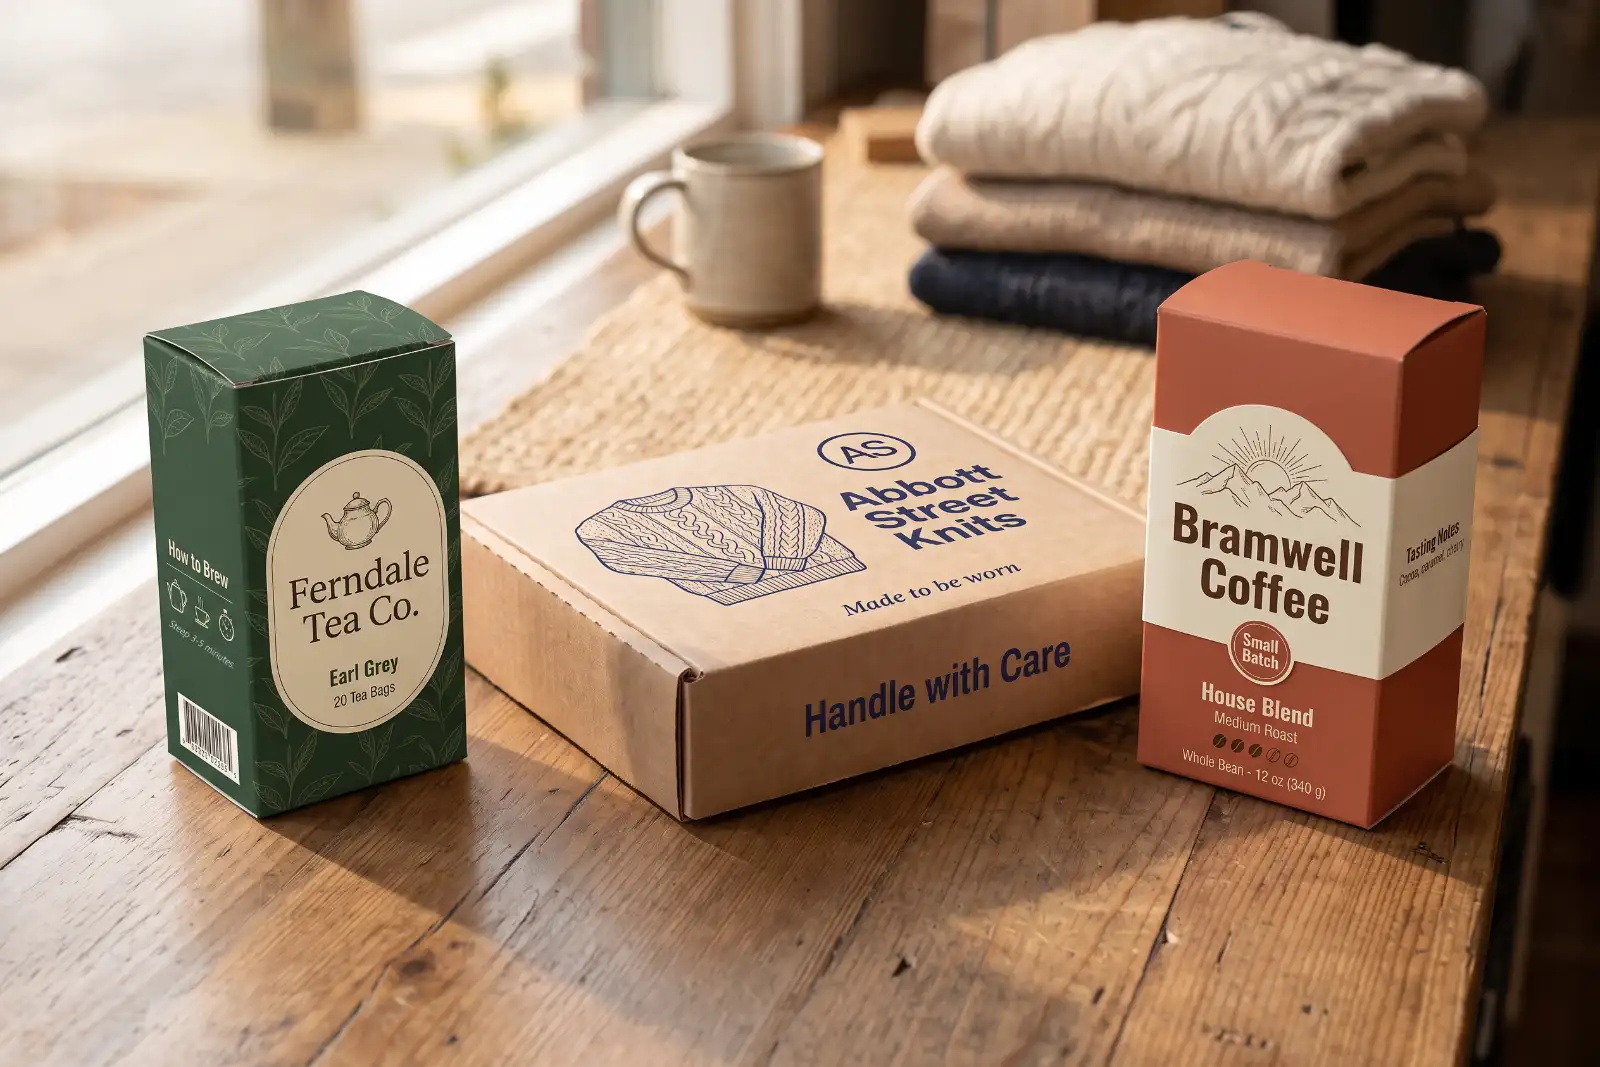
The easiest way is to ask your printer for one sized to your product. With Pro Packaging Line, every print order comes with a free dieline, sent as both PDF and AI files.
Yes, for a paper prototype. You can draw the panels to size, cut them out and fold a test box at home to check the fit. For printing, though, use the file from your printer. It is matched to the board they will use, and even a small difference in board thickness changes how the box folds.
You place your design on a separate layer above the cut and fold lines, then check that every element sits on the right panel, facing the right way. A few steps keep the file print-ready:
If you started with an AI-made concept, our guide to turning an AI design into a print-ready box covers the next steps. Free design help comes with your print order, and if you only need artwork, see our packaging design packages.
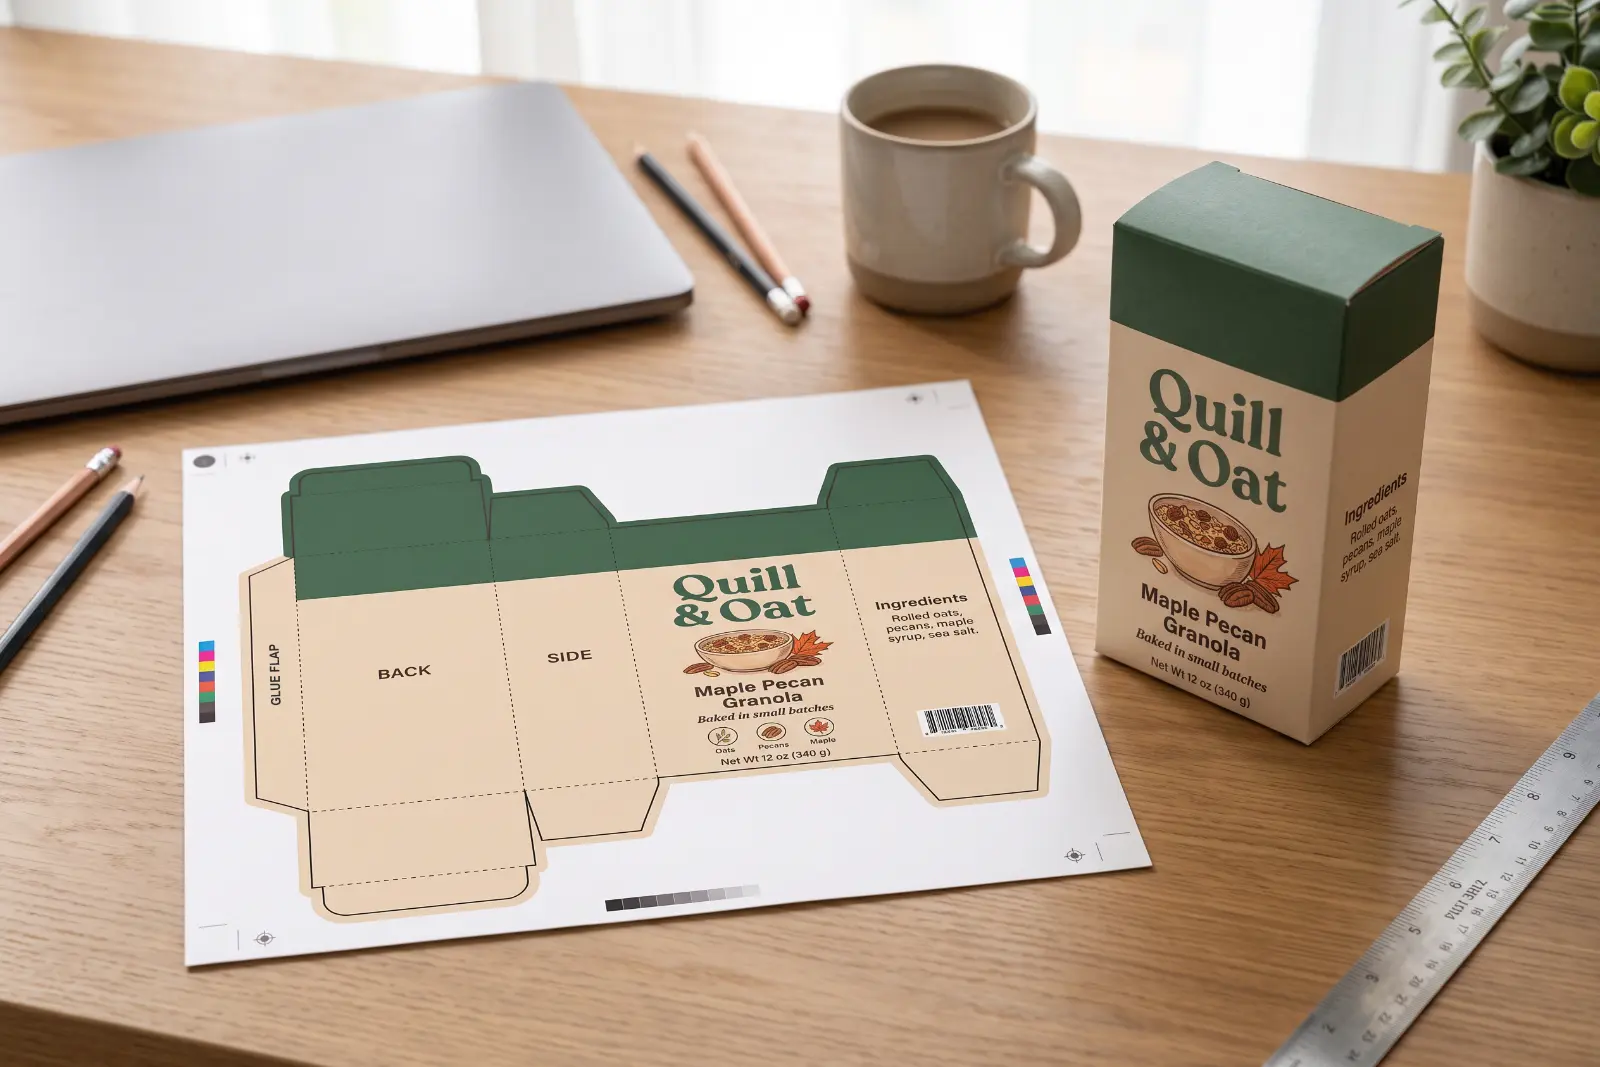
Many print problems on custom boxes come from a few avoidable file mistakes: missing bleed, text too close to a fold, and a layout drawn at the wrong size.
The minimum order is 100 boxes per design and per size. Request a free quote and dieline for your box.
A dieline is the flat, unfolded plan of a box, drawn to its exact size. It shows the cut lines, fold lines, glue areas, bleed and safe zone. The printer uses it to make the cutting die, and the designer uses it to place artwork on the right panels.
A box template is a general flat shape for a box style, often downloaded and used for prototypes. A dieline is drawn for one exact box size and board, with bleed and safe zones marked, so it can be used as the base of the print file.
No. Red, magenta and blue are common because they stand out, but any color works. The lines should sit on their own layer, separate from the artwork, with a legend that explains what each line means.
Bleed is the extra artwork that runs past the cut line, so no white edge shows if the cut moves slightly. We use a 3 mm (about 1/8 inch) bleed on every outside edge.
Yes. Pro Packaging Line makes a free dieline with every print order, sized to your product and sent as both PDF and AI files. You also get a free digital proof before printing.
No. Send us your product size, box style and quantity, and we create it for you. You only need one before the artwork is finished, so your designer can place everything on the right panels.
This guide was written by the Pro Packaging Line team, a custom packaging printer based in Dallas, Texas. Learn more about us.
Get in touch — we're happy to send a free first-pass concept for your packaging project.